Plan your modifications and have an end goal
It is important to have a goal in mind when planning to upgrade and modify a car. Joey may want a louder exhaust. But it’s no good buying that 3inch exhaust for his naturally aspirated Integra GS-R only to experience less oomph low down as the power band has moved. If Joey is planning to install a turbo the 3inch exhaust is justified. If the plan is to stay naturally aspirated then a 2.5inch exhaust would have been a better buy!
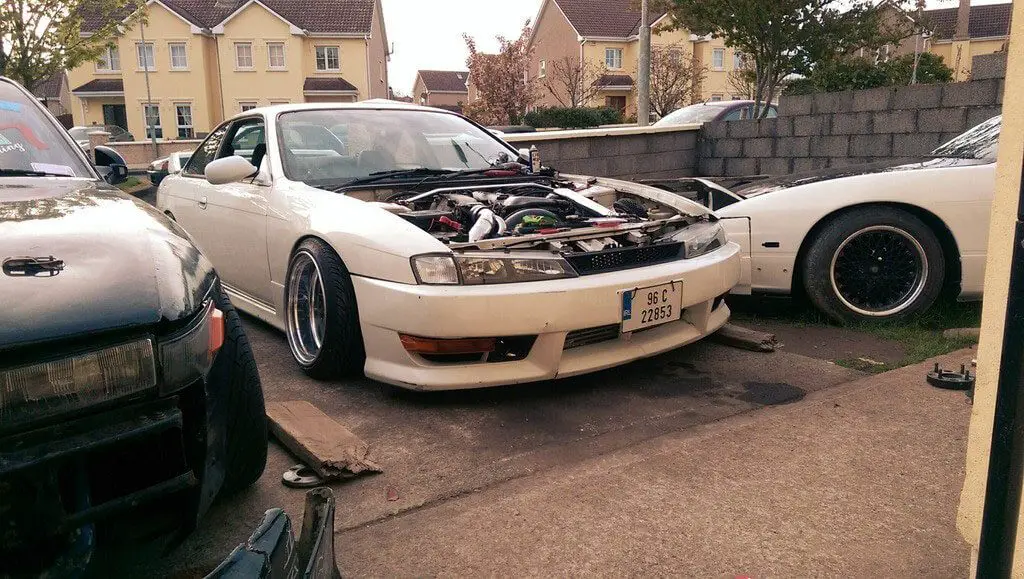
It’s always wise to have an end goal in mind. Will your car of choice be slammed to within an inch of it’s life, or a true licence loser. These decisions now will dictate the modifications you should focus on.
Stanced
If your goal is to stance your car so the regular driver thinks it must be broken, then you need to start putting those pennies into “my air suspension” jar.
Your focus is going to be around a killer suspension, wheel setup. Team those two main modifications with exterior mods to highlight the curves and contours of your car, and even engine tuning if you are after a bit more oomph.
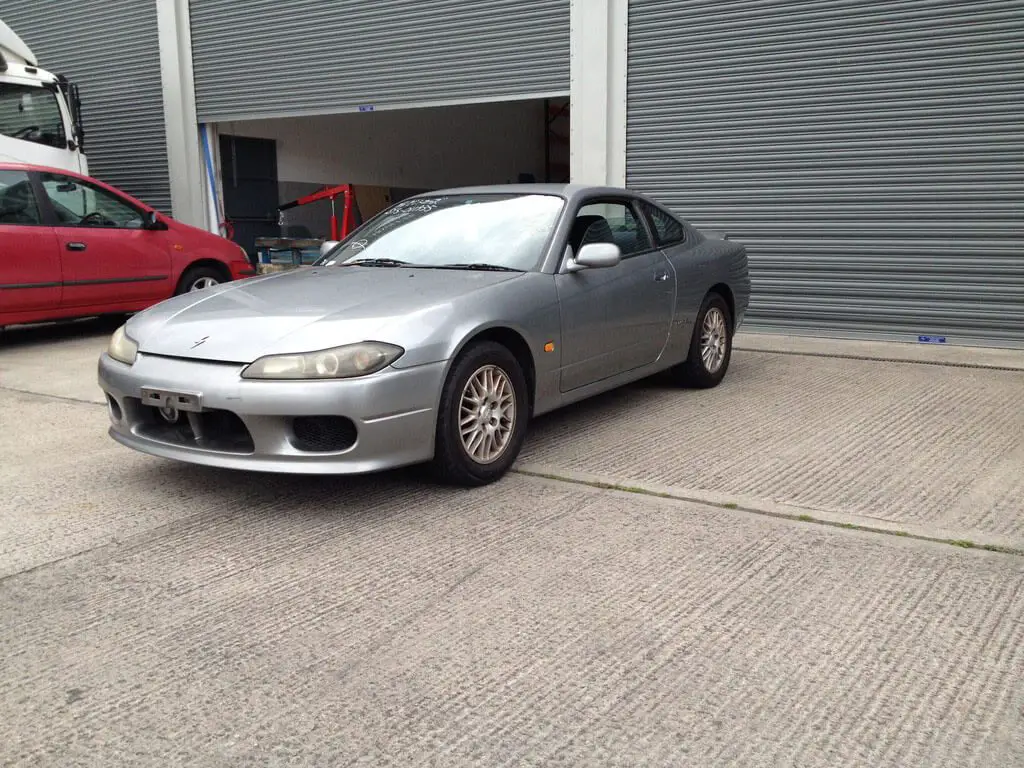
Performance Focused
You may prefer your car to come more in the shape of a track monster. If this is your way forward then you are going to want to extract every punch of performance out of your engine setup. Install a turbo & intercooler if your motor is NA. Firm up that suspension and invest in a good set of tyres.
Before we start modifying cars
Below we will detail some of the more common modifications that car modders install. Not everything will be relevant to you and they don’t need to be completed in the order below. With that said, let’s break out that old ratchet set!
Air Intake System
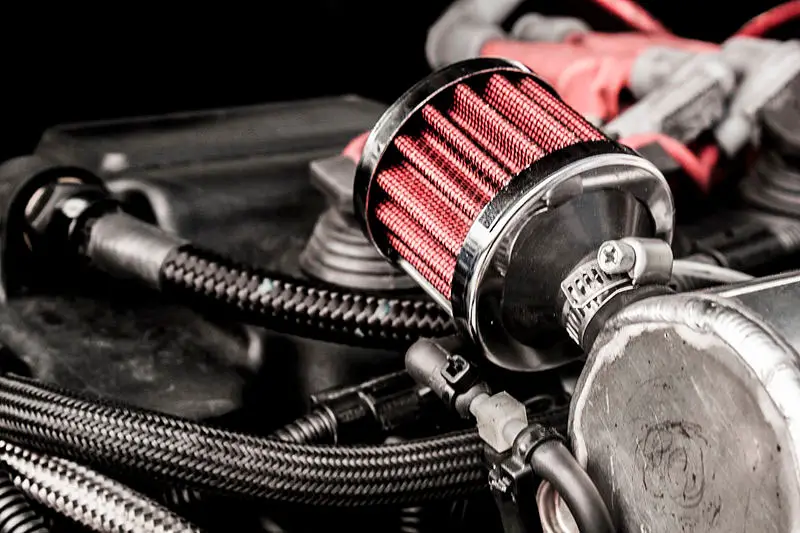
One of the easiest ways to gain some horse power is with the installation of an intake kit, or if a new kit is out of your reach, a performance air filter.
The science behind this being very simple. Power is created from mixing fuel and air, the more of each that is included, the more power you get. Simple… kind of!!
Replacing your standard air filter (which is probably paper) with a performance air filter from some one like K&N will free up the air flow slightly, but not much. you will get a very minor performance bump, but the main benefit here is that you will hear more of the engine noise when you press that loud pedal! Great!
So should I get a performance air filter?
If you aren’t doing it for the extra power but would like a bit more noise, then sure. As an added bonus you don’t need ninja skills to install one either! If you want more power look to a Short Ram Intake or Cold Air Intake.
Short Ram Intakes & Induction Kits
For more money you can get yourself an induction kit or a Short Ram Intake, which usually incorporates new pipe work, and a cone shaped air filter. This replaces your OEM air box. This will no doubt net you slightly more horsepower but not a huge amount.
The main problem here is that the new induction kit sucks air from your engine bay… which is hot. It isn’t until you get your car up to speed that cold air starts to flow in.
This is where cold air intakes come in to play.
Cold Air Intake
Cold Air Intakes include longer pipework than a Short Ram Intake and take the air from a different part of your engine bay, further from the heat. This can be from near the ground and front bumper.
Since the intake is sucking in colder air at all times, more power is generated through more consistent speed ranges. However they come at a price. As more pipework is included, and the fact they are generally harder to fit, the price will be higher than a Short Ram Intake.
Short Ram Intake vs Cold Air Intake
If both of these intake systems are available at a similar price, we would always recommend a cold air intake.
However if your car isn’t already turbo’d and you are planning on adding a turbo we would advise against installing a new induction kit. This is because a lot of turbo kits come with their own intake system.
Exhaust System

Another popular modification is the exhaust. Noise, noise noise!
If you are going for noise and size, as detailed in our introduction, ensure you are getting the correct sized exhaust for your engine.
One myth is that larger exhausts cause a loss of back pressure which negatively affects performance. This isn’t entirely true. Going back to Joey and his Integra. Larger exhausts that are stuck onto naturally aspirated engines can give the effect of power loss. This is because the power band shifts. You will need higher revs to unlock that power.
If your plans are to turbo a NA car then by all means go big. For high powered cars we recommend installing that 3inch exhaust. If you are staying naturally aspirated then coming down to a 2.5inch exhaust will be beneficial.
Resonator Delete vs Muffler Delete
If noise is your goal then you can consider deleting either the muffler or resonator, or installing a straight pipe.
Deleting your Resonator will unlock some noise, however if you are keeping your muffler stock you won’t get too much of a gain. Also be cautious of the dreaded droning at constant rev ranges if deleting the resonator.
If you want more noise, but want to keep drone to a minimum, then consider a muffler delete, or a custom muffler build. Removing the muffler will unlock more noise than the resonator alone.
And if you want to really annoy those pesky neighbours then you can delete both and install a straight pipe. This will be super loud, like jet plane taking off in your garden loud. You’ve been warned!
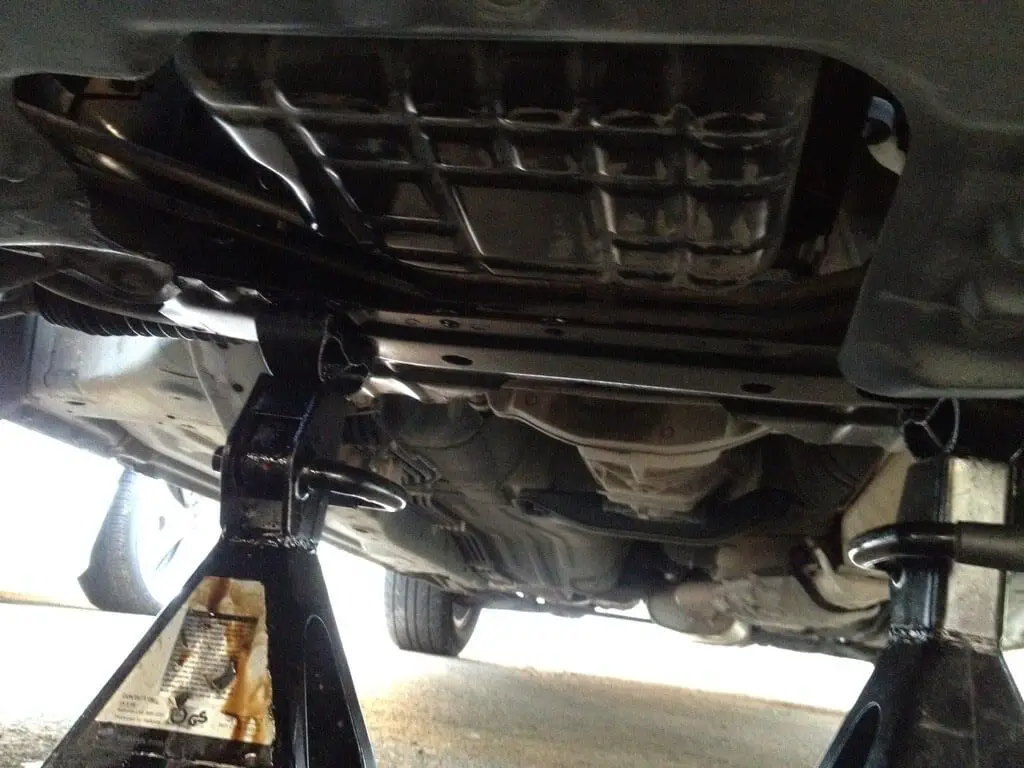
Should I Upgrade My Downpipe
Installing a performance down pipe can be really beneficial if you have a turbocharged car. This is because you want the most unrestrictive pipe possible coming from the turbo.
Your stock down pipe probably contains numerous bends, and these are quite often restrictive crushing bends. Installing a mandrel bent larger diameter down pipe will free up that air flow.
Installing a Turbo Kit
If you don’t have a turbo on your car currently and plan to install one, we wouldn’t recommend completing any engine modifications until the turbo kit is on. Once the turbo goes on then you can build from their. Most turbo kits include a high performance intake, and you can add a turbo back exhaust in good time to free up that air flow.
Cars with a stock turbo
If your car does have a turbo, either stock or a previously installed kit, then the mods of choice are easy.
Check and upgrade that air intake to a cold air intake. Add a high flow down pipe along with a larger mandrel bent exhaust system.
From there you can tune the engine to deliver more power and boost.
Tuning and Re-Mapping
Remapping your car is possibly the single biggest performance boost modification you can perform. Most manufacturers run their cars down on power to cater for specific markets and target audiences. Because of this most motors can be re-mapped to utilise the extra power that the manufacturer had disabled.
The most important piece of advice here is to pick a reputable tuner. A bad tuner can cause damage to your engine, so make sure you do your research here!
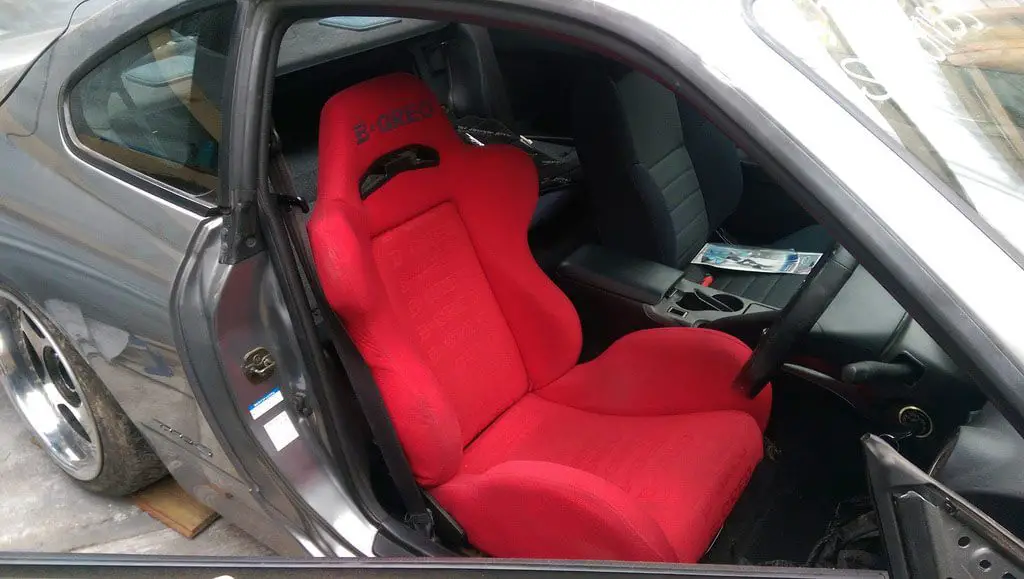
Suspension

This is one of those moments that you need to ask yourself what you are after with the look of your car and the performance goals.
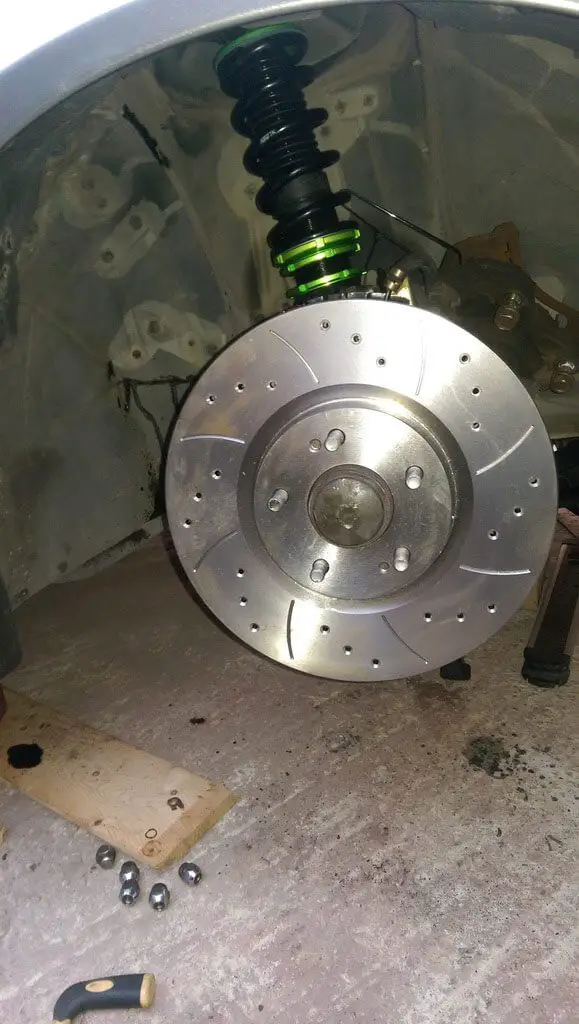
Depending what you are after you have a multitude of options. If you want a little less arch gap and a slightly firmer ride you can get performance springs or lowering springs. This will shave off those mm and can negate some body roll. Team a good set of springs with performance dampers and you will have a strong ride, with a much more aggressive stance.
Should I always buy new dampers when I upgrade the springs?
No… but yes. Your stock dampers can last a while with lower springs, however the increased spring rate will cause them to wear at an accelerated rate. This could mean that a few months after you paid that mechanic to install your springs you will be going back to pay once again to replace your blown shocks.
Why not get a decent set of dampers to go along with your new springs and save yourself that extra labour charge.
Lowering Springs vs Coilovers
If you are track focused and want more control over your ride height then coil overs are the way to go. They generally create a better handling car than a spring and damper combo. Coilovers also give you the ability to adjust the ride height, making your car setup much more versatile. Ideal for track occasions. Coilovers would be advised if you are after max performance, and lowering springs if you are after a better look.
So wouldn’t coilovers always be recommended?
The trade off however would be that coilovers come at a higher cost. The adjustability and overall setup mean the price point is higher compared to springs and shocks.
What the heck is air suspension?
Air suspension is exactly that. An electric air pump fills the hollow suspension with air, which in turn raises the car off the ground. We won’t touch too much on this one but it is a truly great option for those who want a super stanced look to their car. You can set multiple height levels, meaning at the touch of a button your car can sit higher or lower.
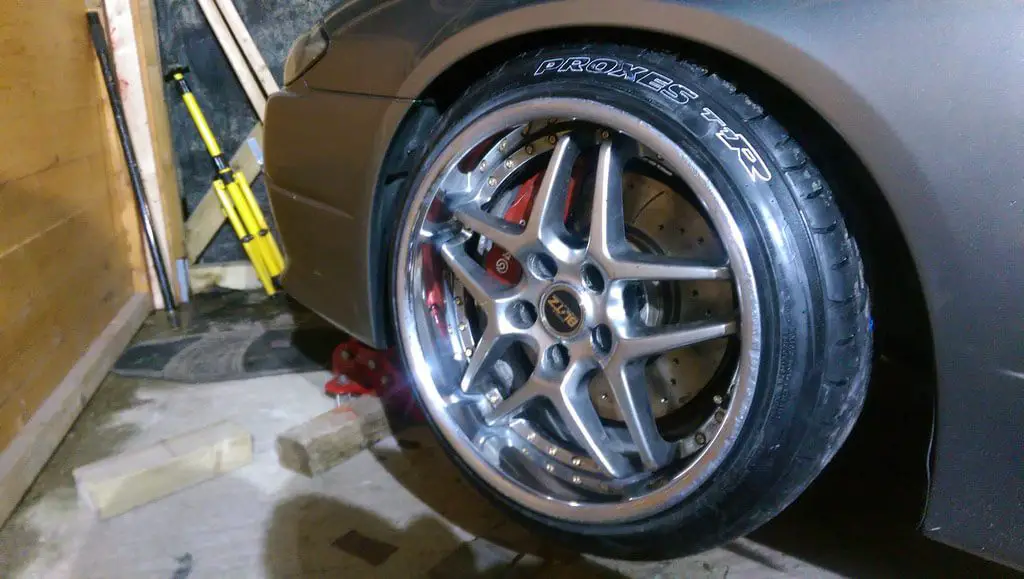
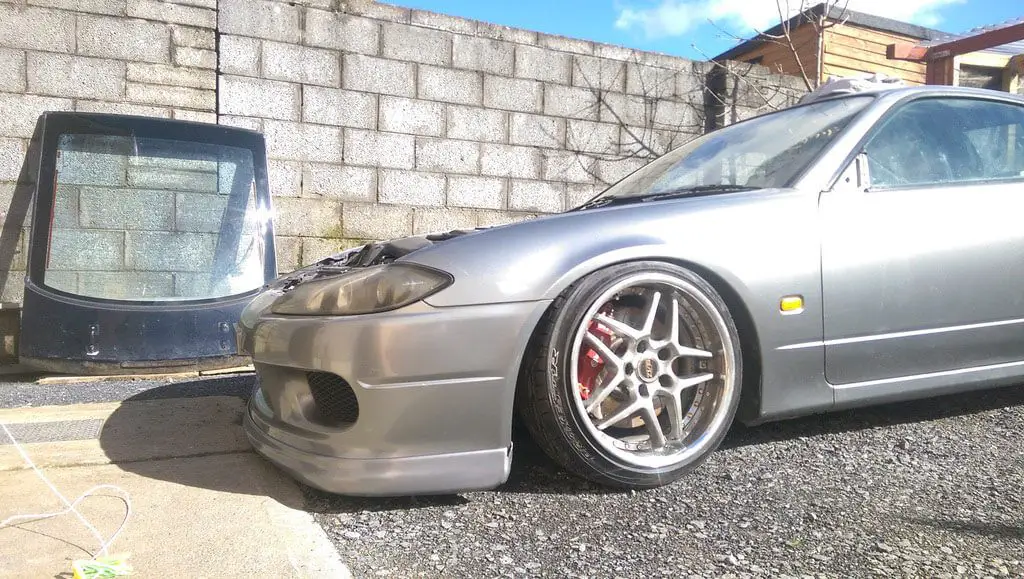
Wheels and Tires
Aftermarket wheels are one of the best visual mods to start with. They give a strong look to any OEM ride and can really set your car apart from the crowd the instant they are installed.
Aftermarket wheels often boast that they are lightweight to satisfy that need to shed weight in exchange for performance.
Which wheels you stick on your ride is such a personal option that no one can really advise you. You have to look at them day in day out after all.
The best thing to do would be to go for the lightest wheels that you can find and like. If you are planning on installing a big brake kit then you need to allow room for the disc and callipers.
Another thing to look for is the wheel offset, which dictates how close to the car the body of the wheel is. In extreme cases, too close and your wheel can clip your suspension. Too far and they will stick out for the arches. There are great tools on the web to calculate your offset and offer visual comparisons from your old wheel setup to your new.
We always use a site called http://www.willtheyfit.com/ to check our new wheel setups.
And after all of that information about modifications…
Right. Lots of information. We wanted to touch on a lot of options from performance to aesthetics, and now it’s over to you to plan your build. For us that is one of the best and most important parts, planning. At this stage your imagination can run wild, you can cost up everything you want to do and scour those specialist forums for suggestions.
Modifying your car is fun and shouldn’t be daunting for those who are doing it for the first time. You will rarely get the correct setup first time round, and will no doubt change up parts over the course of your ownership. Importantly, have a goal in mind and make it your own.
If you’re reading this article with the intention of buying an already modified car, be sure to read our modified car checklist.
Source